
Configuring Application Security Groups (ASGs) in Microsoft Azure is a way to manage network security by grouping together different workloads based on specific attributes. ASGs allow you to define network security rules based on these groups, making it easier to manage and control network traffic between resources. Here’s how you can configure Application Security Groups in Azure.

Task
Create a Virtual Machine
Create Virtual network
Create a network security group
Create of an Application Security Group
To simplify the management of an existing network security group by using application security groups.
Associate the virtual machine with the Application Security Group
Update the Network Security Group to use the Application Security Group
Steps
Log into the Azure portal
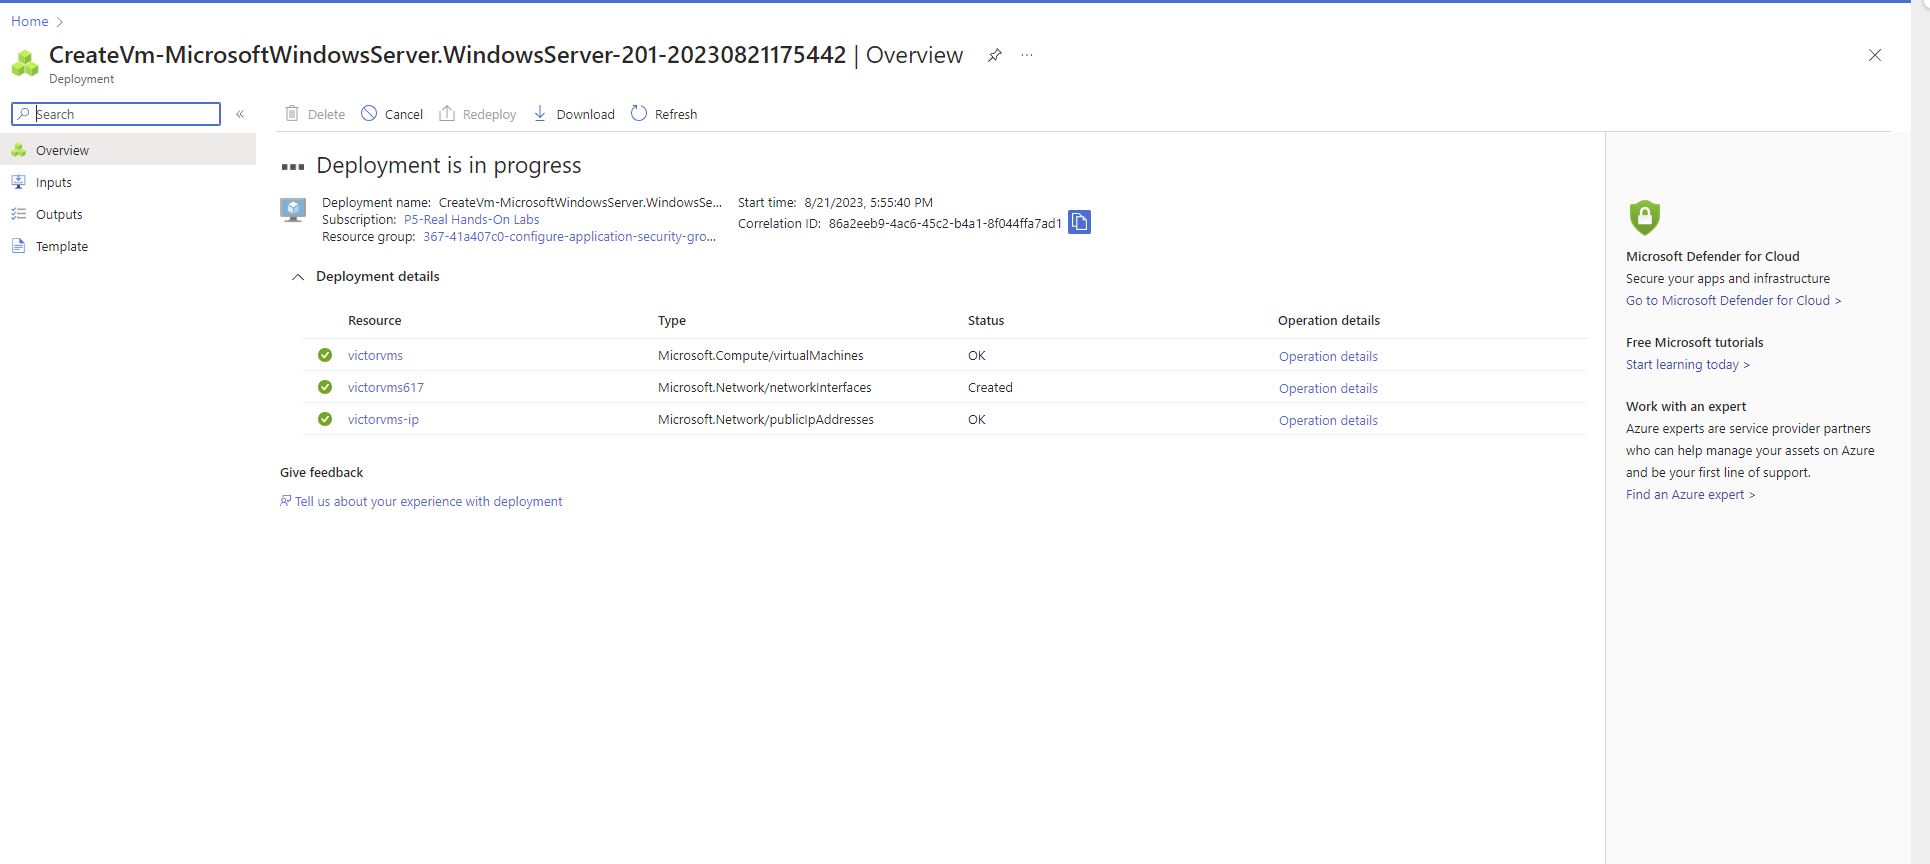
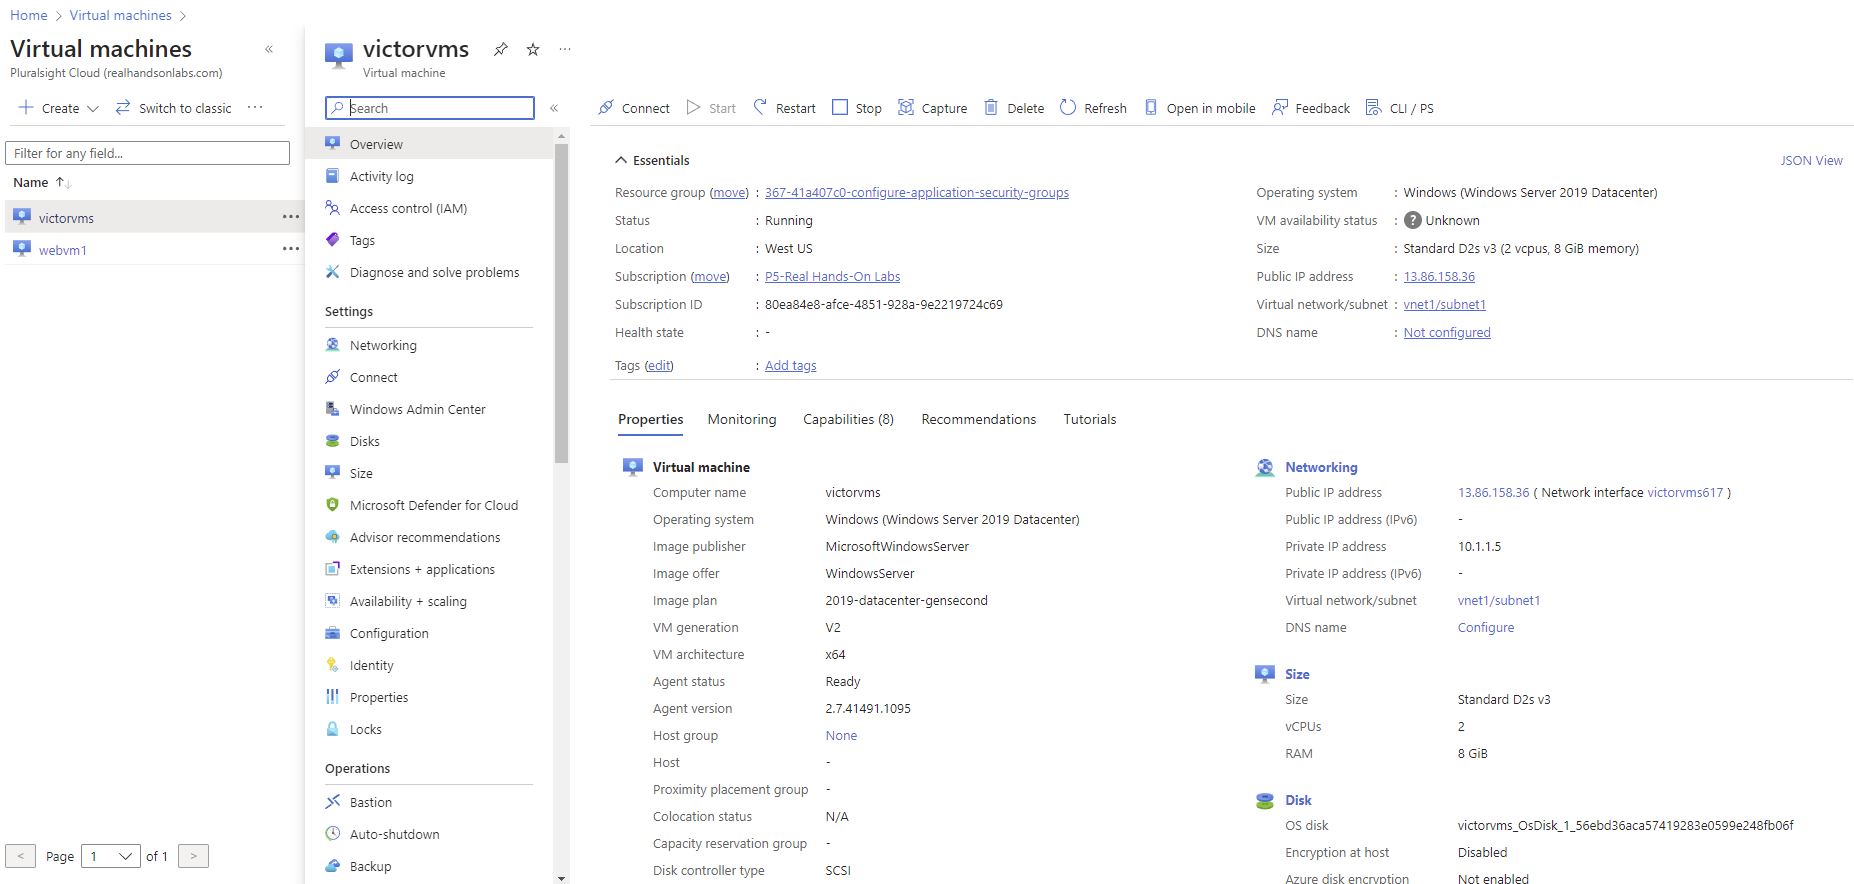
created a victual machine called: victorvms
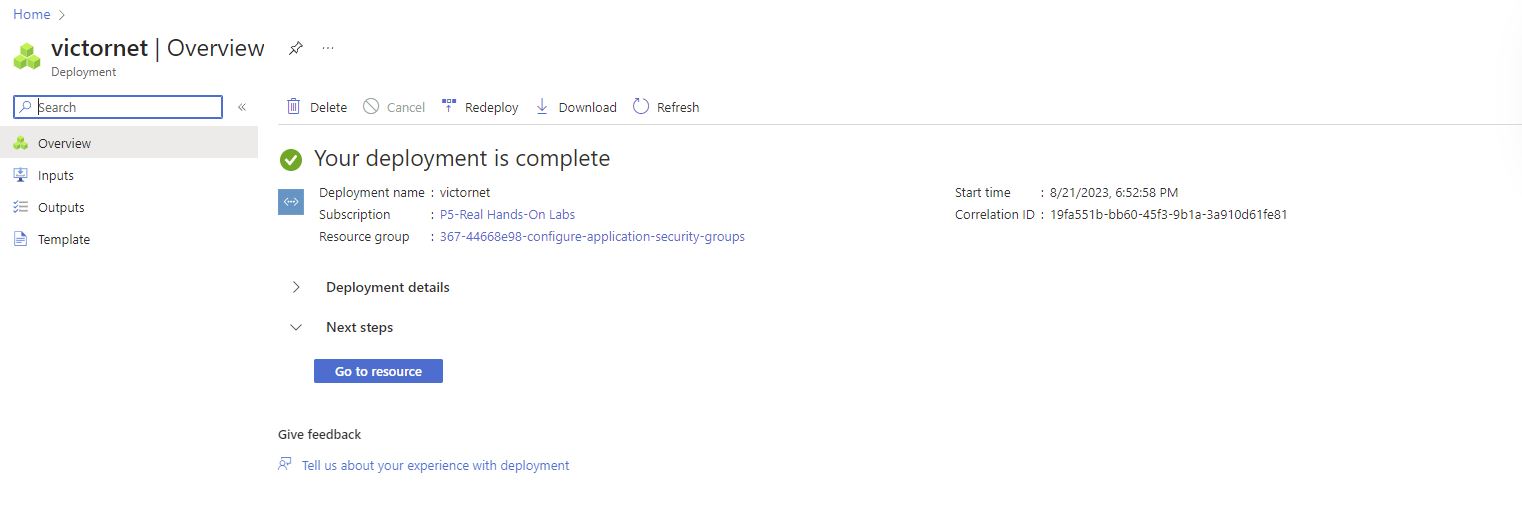
Creation of a Virtual network called: victornet
Created a network security group called: victorshared-nsg
Creation of an application security group called: victor_asg and associate the virtual machine victorvms with the Application Security Group
Creation of an Application Security Group
Clicked on the + Create a resource option.
Search for application security group.
Choose the Application security group option.
Then click on ‘Create’
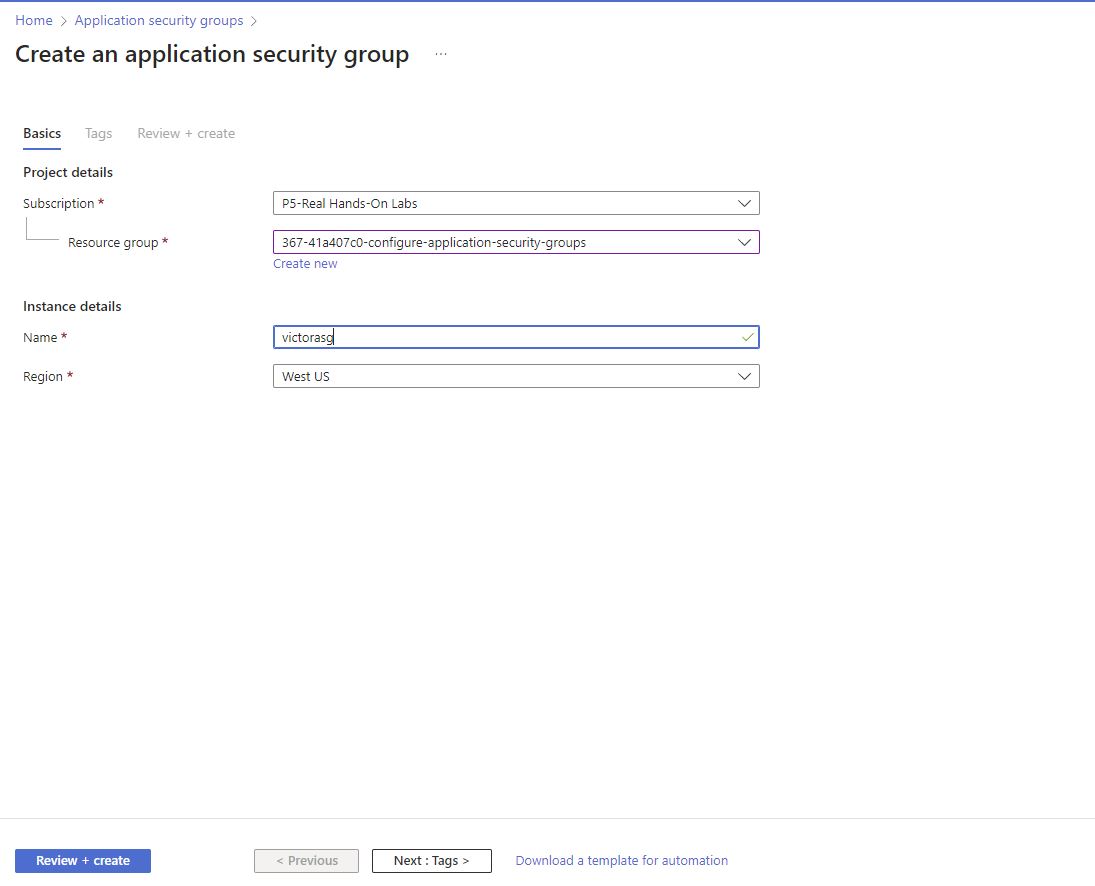
Created the application security group with the following settings:
Subscription: Selected the existing subscription(for my labs)
Resource group: Selected the existing resource group (for my labs)
choose a name and maintained the same region as my other resources.
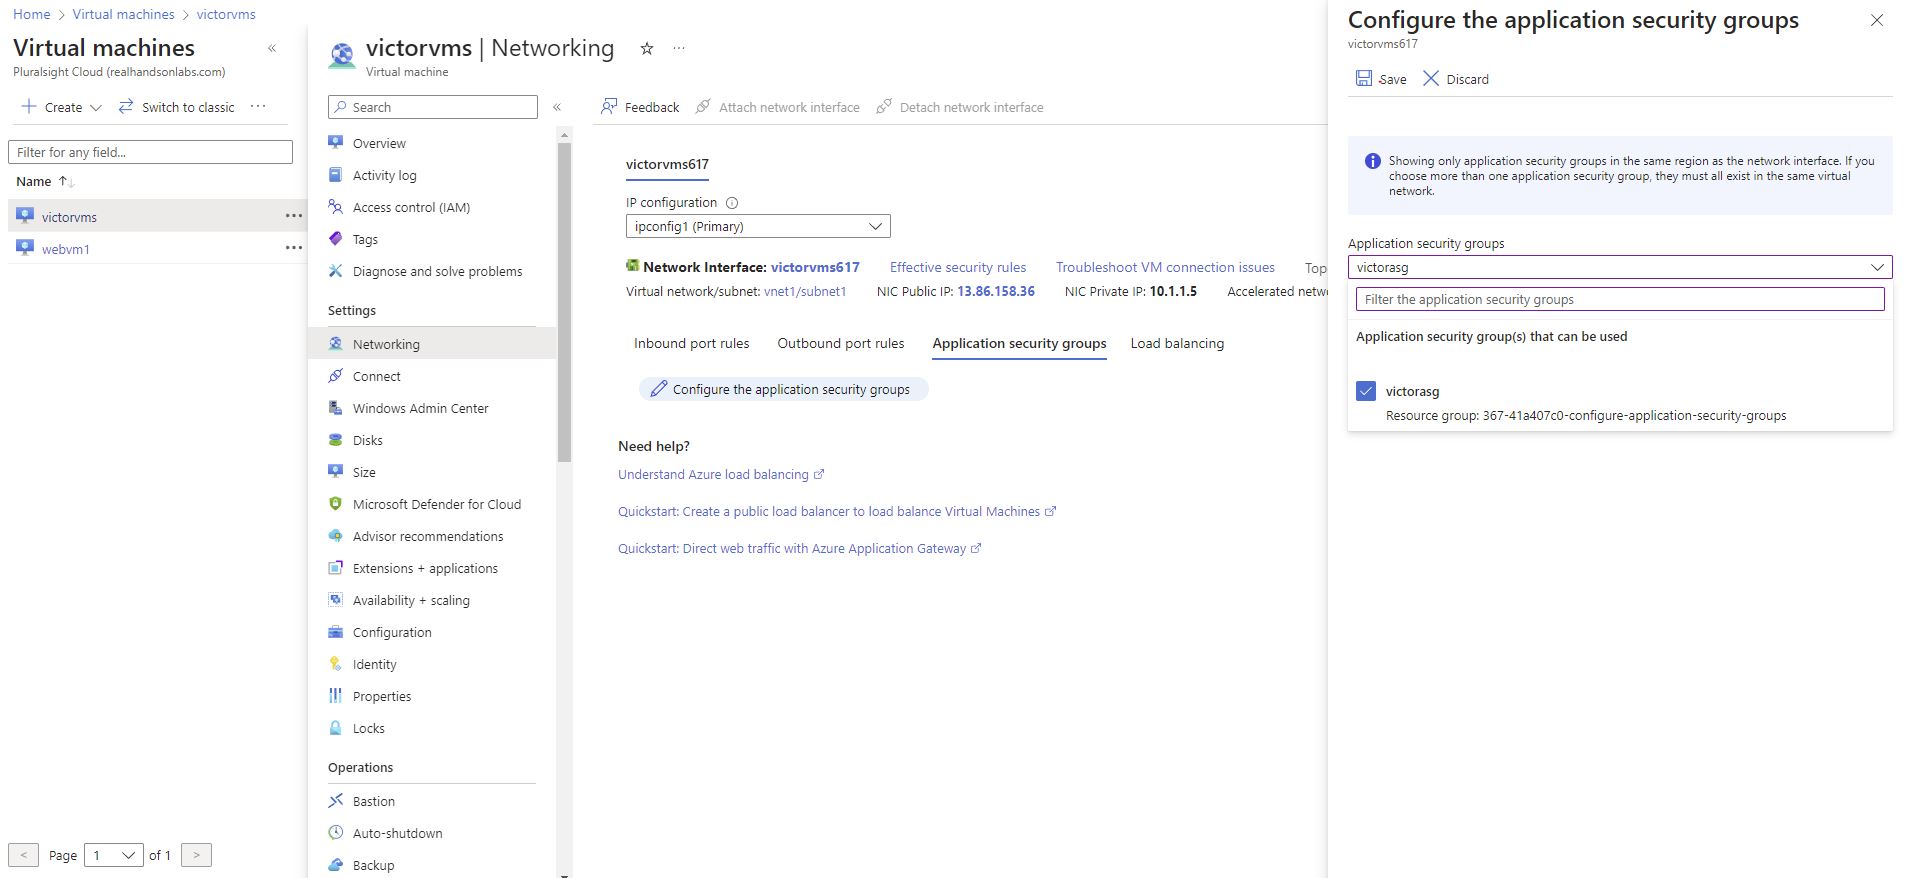
To associate the VM victorvms with the application security group that i created.
Here are the steps to achieve this;
Clicked on Virtual machines option.
Select the virtual machine created: victorvms
Clicked on Networking.
Choose the Application security groups.
Then clicked on the editing icon to configure the application security groups.
From the dropdown that appears, selected the security group created (victorasg)
Then select Save.
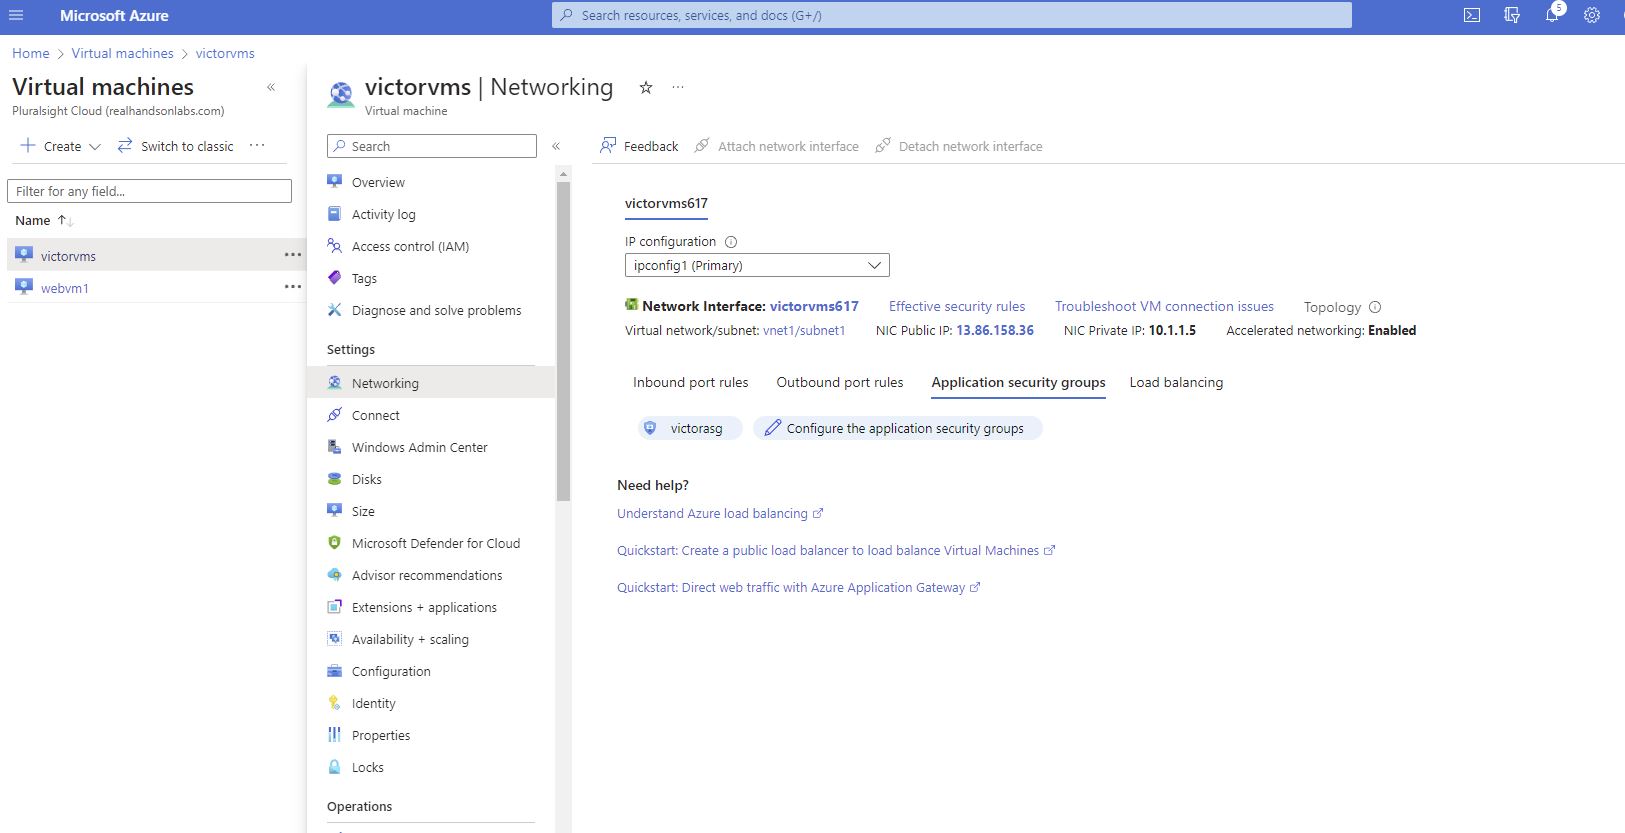
You will notice that the application security group “victorasg” has been tagged.
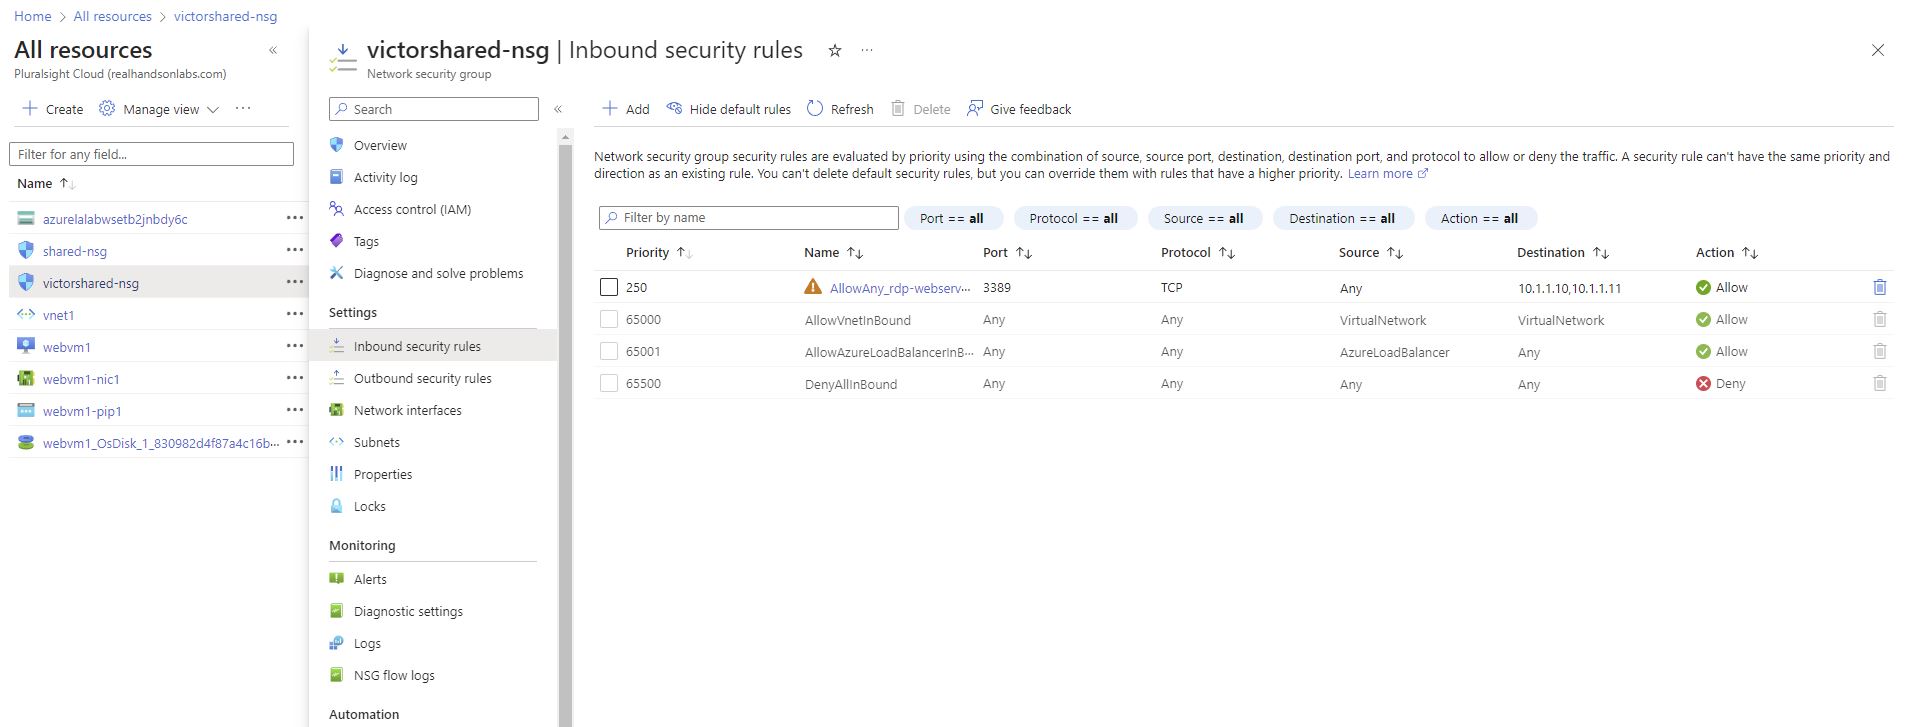
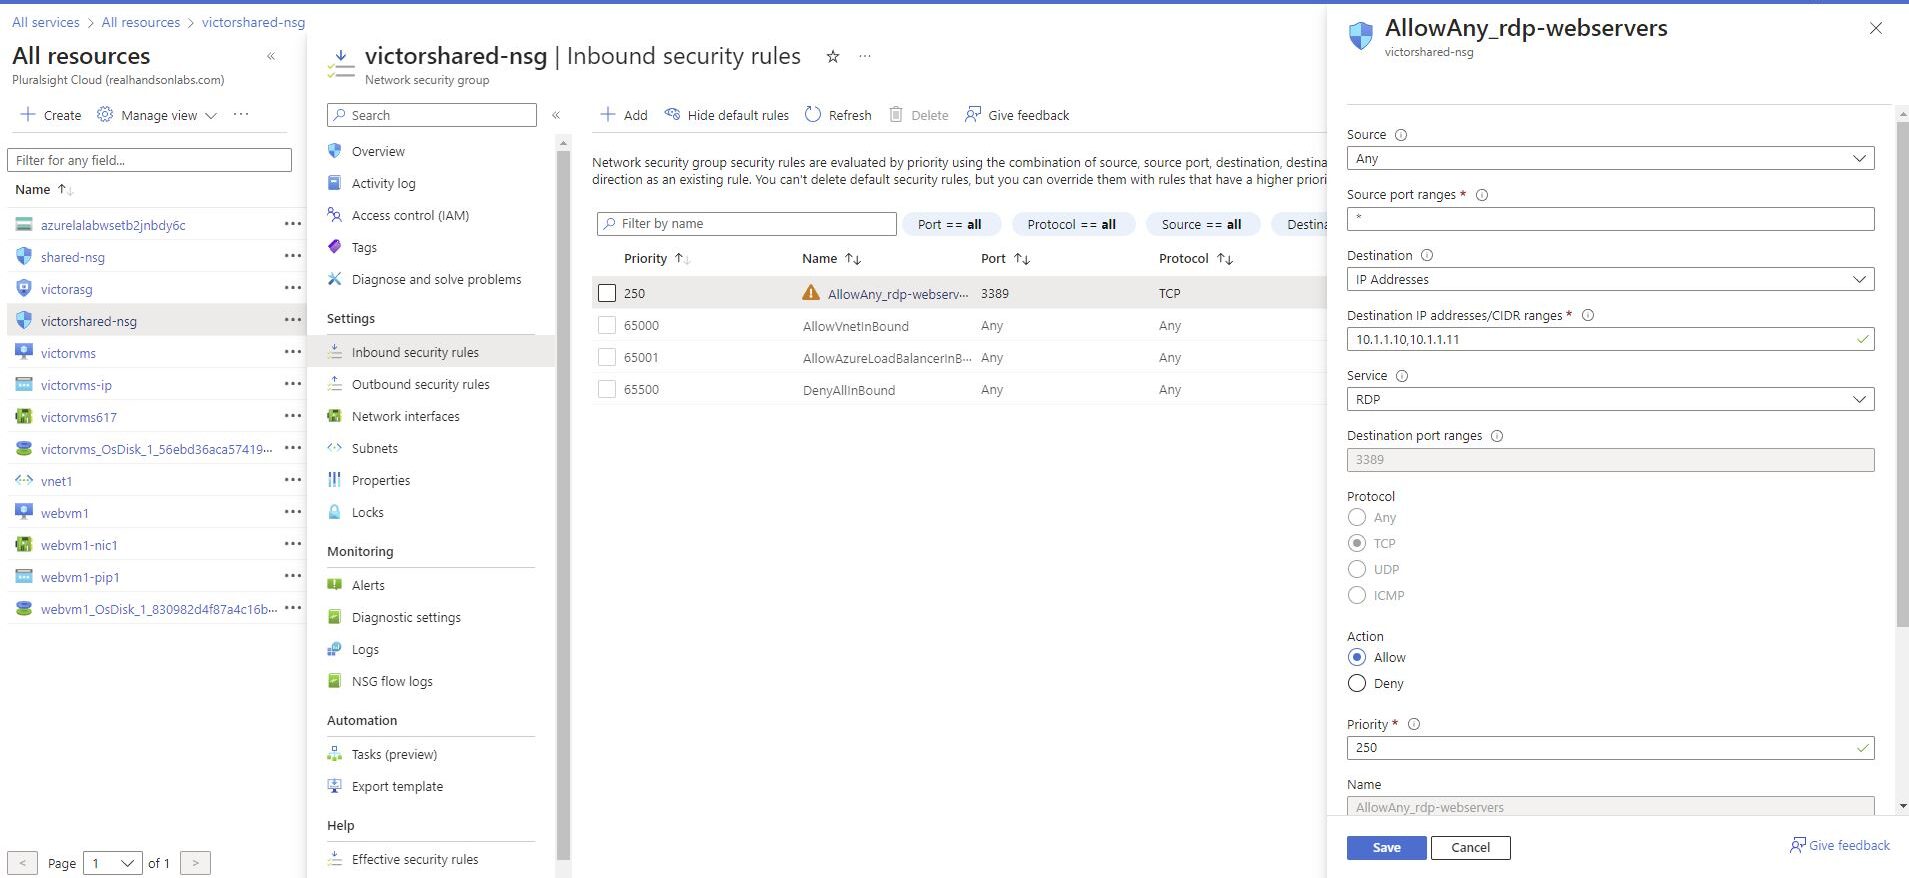
Updated the Network Security Group to use the Application Security Group
To do that, navigated to the network security group, victorshared-nsg, via all resources, or through the Network Security Groups service page.
Then Inbound security rules in the Settings section of the resource menu on the left-hand side.
By Clicking on the existing rule, allow_rdp_webservers, within the working pane
updating the settings as follows;
Destination to be: Application security group.
We update the rule so that it will be easier to manager using application security groups. To do so we must change the destination type to security groups by
Selecting victor_asg, for the Destination application security group.
Finally Clicking on Save.
To do so, use an RDP client from your computer, and connect via the public IP address.
Note: You will need to collect the VM credentials and the public IP address of the VM victorvms to verify that the network security group is working as expected by connecting to victorvms using RDP.

while Application security groups provide a more convenient way to manage network security, it’s crucial to plan and design your security groups carefully to ensure proper traffic isolation and protection. Always follow Azure’s best practices for security and networking when implementing ASGs and related configurations.
Follow for more.